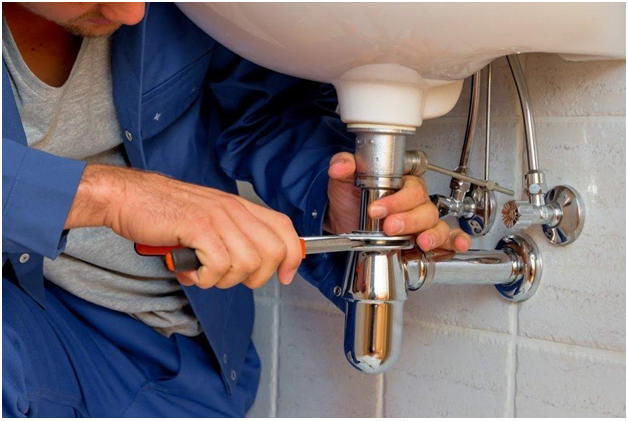
We used to use streams or holes in the ground as toilets before modern plumbing. “Toilets” were placed beside walls or ledges of castles throughout the medieval era. However, we no longer require canals, pits, or moats to dispose of our waste due to clean and dependable plumbing technology.
Maintaining a sturdy and well-functioning home requires efficient plumbing inside your walls and beneath your foundation. In this article, we will discuss plumbing installation and techniques. Action Plumbing is excited to provide this information because it is what we do.
Always consider talking to an expert before taking on any serious plumbing projects. This consultation could save you a lot of time and money.

How to Install A Plumbing System
Plumbing installation is an exciting challenge. If you do it correctly, you will have worry-free drainage for a long time. Here are the steps to take:
1. Learn About Your Local Plumbing Codes
Different laws control how homeowners install new construction plumbing in different states. These codes ensure your building plumbing gets installed safely. While some codes differ from state to state, many remain the same.
2. Make Space for Plumbing
If you’re constructing new plumbing in an old home, you most likely need to create space and determine if any walls need to be shifted. Remove any drywall or plaster from where the plumbing will be installed. Also, ensure there is enough room for your tub or shower.
If there is any wiring in the way, turn off the power, examine the wires to ensure they are safe, and then create space wherever necessary. Use a tape measure for accurate measurements.
3. Drain and Vent Lines
Place your drain and vent lines carefully. Install your drain and vent lines before the supply lines. If you don’t place everything correctly, you’ll have to start over when it is time to install your sink, shower, tub, or toilet. You may wish to slant the vent pipes when installing the vents. Always remember that plans can change.
4. Maintain Your Copper Supply Lines
Measure where to place your copper supply lines after you’ve run your drains and vents. Before you start your project, practice cutting copper piping and sweating the joints if you’ve never done so. When installing horizontal pipe, it’s easier to do so from the crawl area or basement. Do not cross drainpipes and vents with supply lines.
5. Connect Your Tub, Shower, or Sink
If you’re installing a tub or shower faucet, use properly sized supply pipes to ensure adequate water pressure. Tap into the cold/hot water pipes as close to the water heater as possible to ensure that the water is warm.
If you haven’t previously, install shutdown valves in the lines. When installing a faucet, make sure you follow the manufacturer’s instructions. Each faucet is unique.
Check the dimensions of your tub and shower. You should place the faucet about ten inches above the tub’s lip. If you’re installing a shower, make sure it’s at least 30 inches above the tub lip.
6. Putting Up a Wet Wall or Tiles
Wipe all surfaces before installing your wet wall. Make sure to seal the plaster before putting up the wet wall. When installing your wet wall, leave a few millimeters between the tub and the panel. Fill gaps with grout or a sealant.
Contact Action Plumbing Today
Hiring a professional to install your plumbing system can save you time and stress. Our team is well-versed in local codes and we know how to save you money on materials. Contact Action Plumbing now for flawless plumbing services.